Create tag
The following requirements must be met:
- ☑ A domain has been added, see Section Add a domain.
- ☑ A DNS record has been added for the required subdomains, see Section Add a DNS record.
Proceed as follows to create a tag:
- ► Open the Tags view, see Section Tags.
- ► Click on the tab of the required tag type.
- ► In the Custom Tags area, click on the Create WAF Tag button (WAF tab) or the Create Tag button (Cache, Settings, and Information tabs).
- ↳ The view for creating the tag opens, see Section Create tag / Properties and assignment / Copy tag.
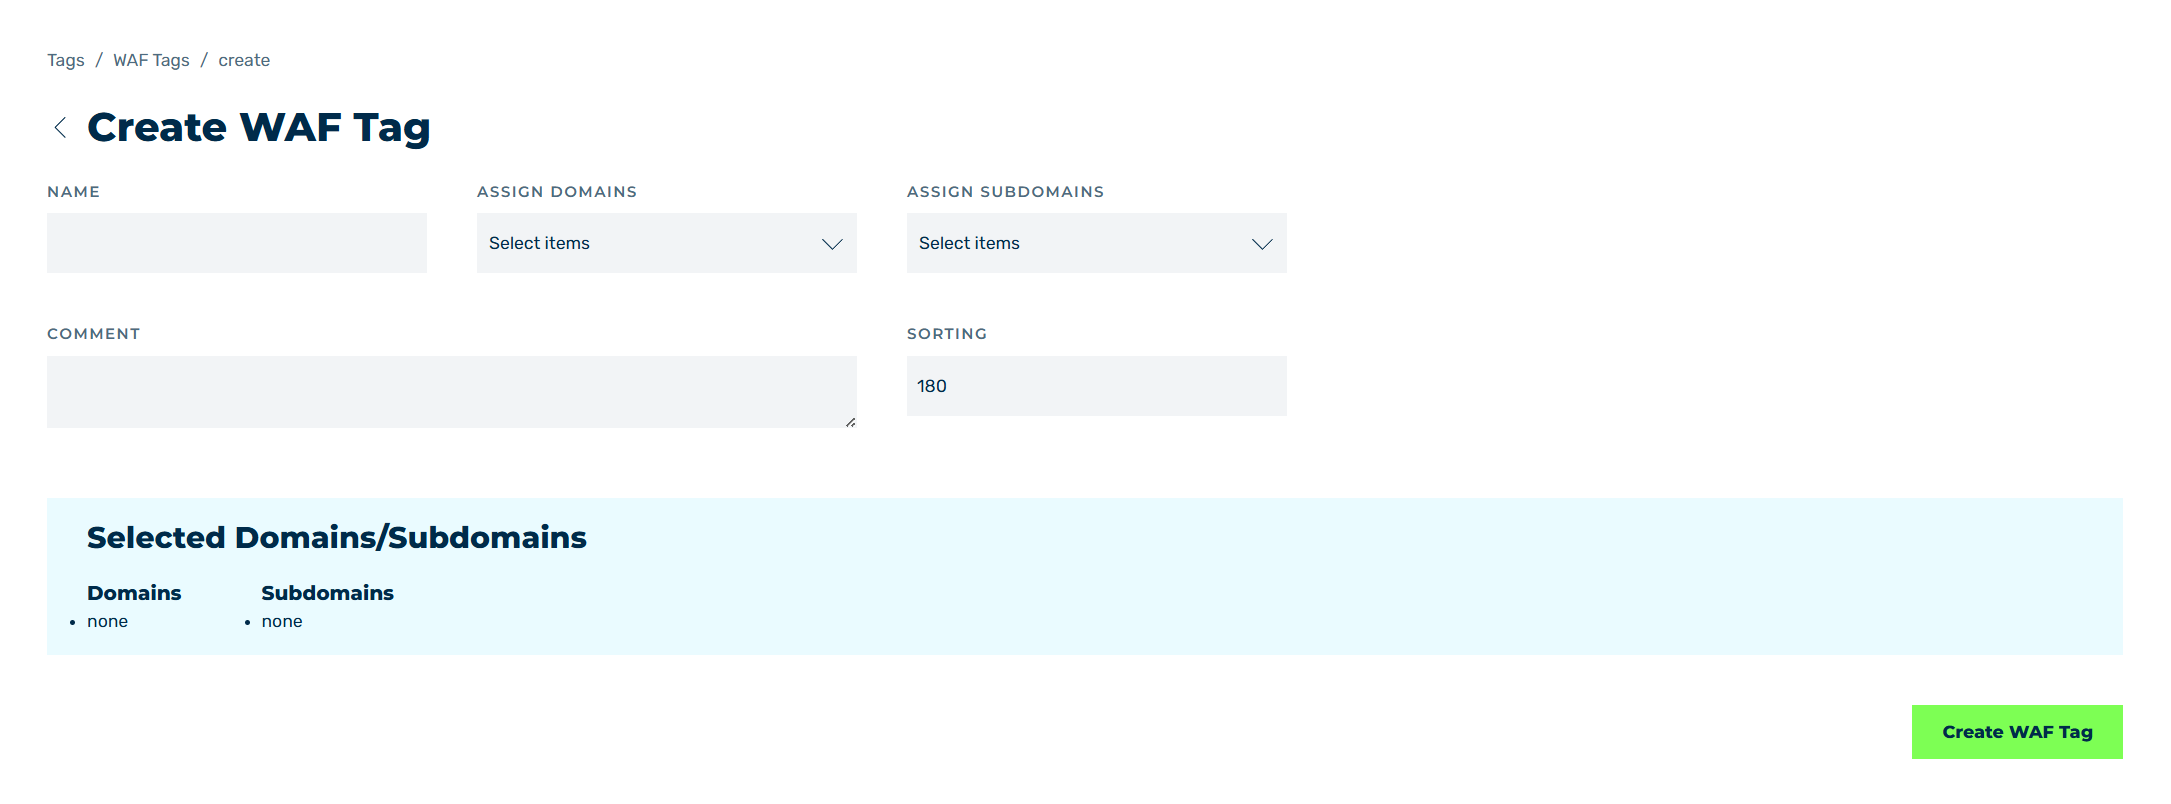
Sample structure using a Create WAF tag
- ► In the text field under NAME, enter a name for the tag.
-
► In the Assign Domains drop-down list, select the domains the tag is to apply to.
Note
When a domain is assigned, all subdomains are automatically selected as well.
-
► In the Assign Subdomains drop-down list, select the subdomains the tag is to apply to.
Note
Only one tag of the Settings type can be assigned to a subdomain. If a settings tag has already been assigned, the subdomain cannot be selected.
-
► If necessary, enter an individual description in the text field under COMMENT.
-
► If necessary, enter a number for the position of the tag in the text field under SORTING.
Note
The text field is not available for tags of the Settings type.
-
► In the Selected Domains/Subdomains information box, check whether all the required domains and subdomains have been assigned.
- ► Click on the Create WAF Tag, Create cache tag, Create settings tag, or Create information tag button.
- ➔ The Tags view opens and the new tag appears in the Custom Tags area.