Redirecting Traffic to Myra
Note
If you manage your own SSL/TLS certificates, make sure you have uploaded a valid SSL/TLS certificate to the Myra App before redirecting traffic via Myra. Otherwise, your website will be temporarily unavailable. See Section Upload SSL/TLS certificate to upload an SSL/TLS certificate.
Note
If you have booked Myra Certificate Management, please note the following points:
- If Myra is the name server, an SSL/TLS certificate will only be provided after a nameserver entry for Myra has been created on your provider.
- If you are the name server, then a valid ACME challenge must be created on your provider in order to provide the SSL/TLS certificate.
For further information, see Section Myra Certificate Management.
To ensure that traffic is successfully redirected to Myra, you must follow these steps:
- ■ Redirecting traffic to Myra
- ■ Add Myra IP addresses to your domain registrar's allow list
Depending on the method you choose for the nameserver at the beginning of the setup, you have the following two options for redirecting traffic to Myra:
Myra as an authoritative nameserver
Proceed as follows to set up Myra as your new nameserver:
-
► Check if all DNS records from your domain registrar have been added to the Myra App, see Section Add DNS Records.
-
► Click on the Domains tab in the left navigation bar.
- ↳ The Domains view opens.
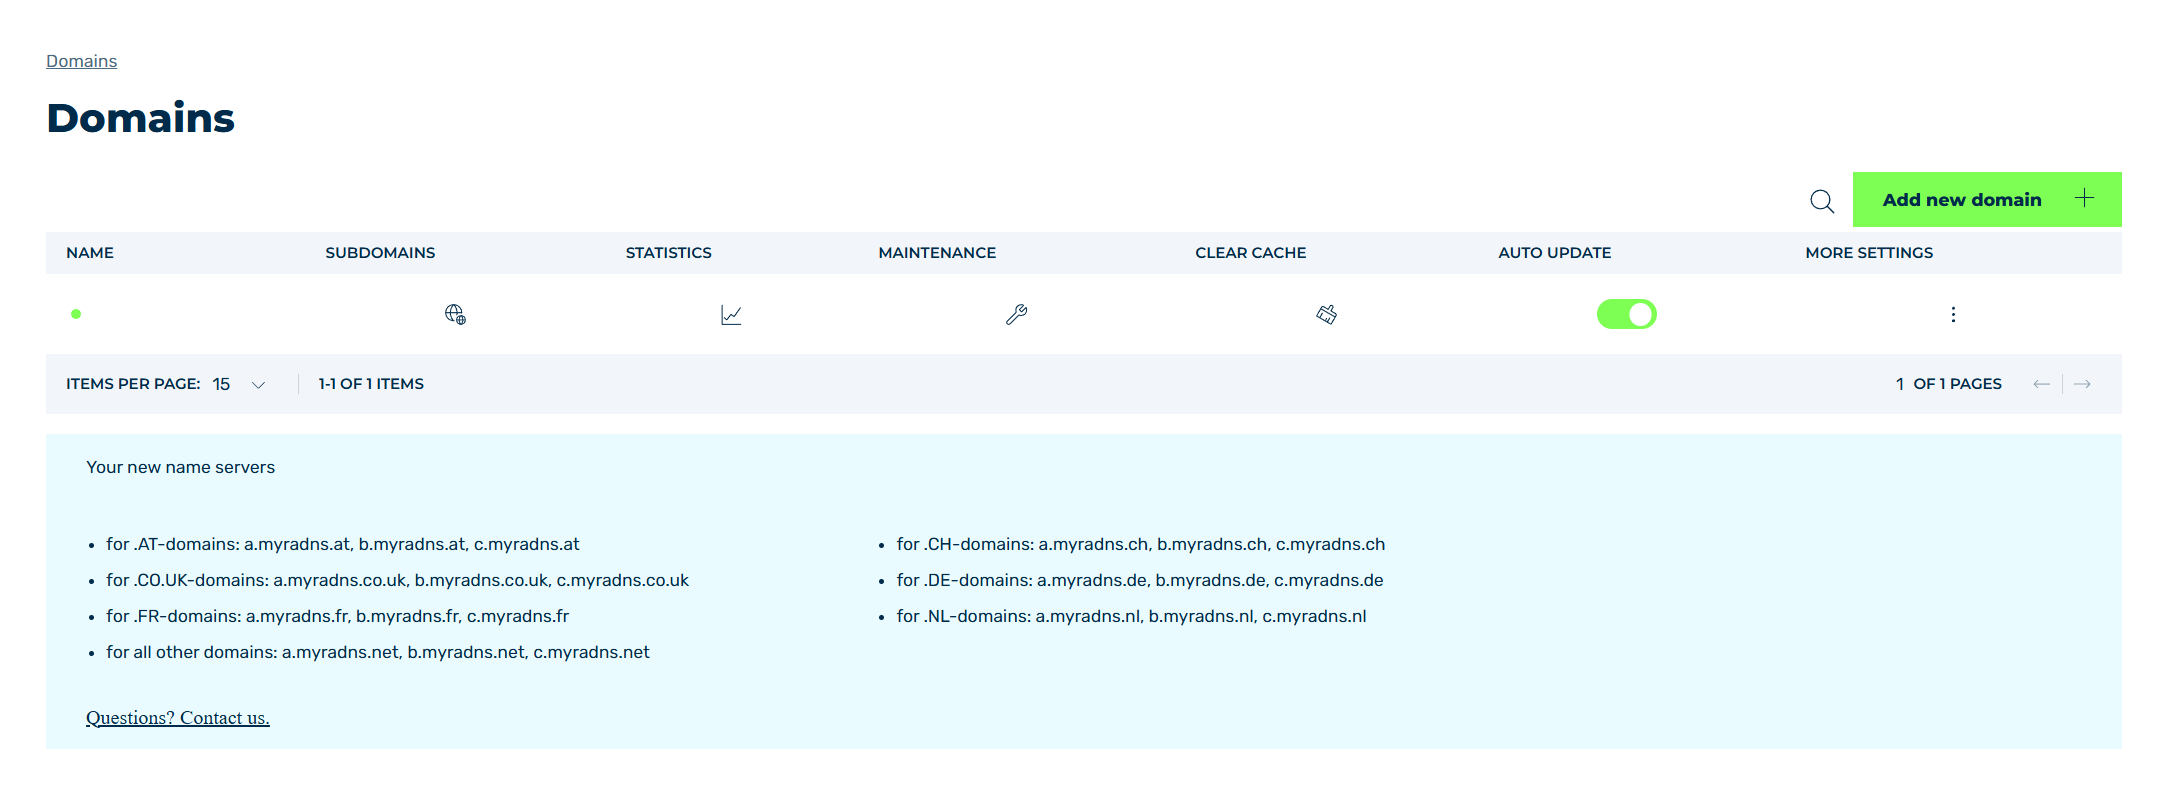
Domains view
- ► Scroll down to the Your New Nameservers information box at the bottom of the page.
- ► Copy the nameserver address you need.
- ► Add a DNS record for each nameserver with your domain registrar.
- ➔ All DNS records are stored with your domain registrar.
Use your own name server (CNAME method)
Proceed as follows to continue acting as the nameserver:
- ► Click on the Domains tab in the left navigation bar.
- ↳ The Domains view opens.
Domains view
- ► Click on the
 icon in the MORE SETTINGS column.
 - ► Click on DNS RECORDS in the list.
- ↳ The DNS Records view opens.
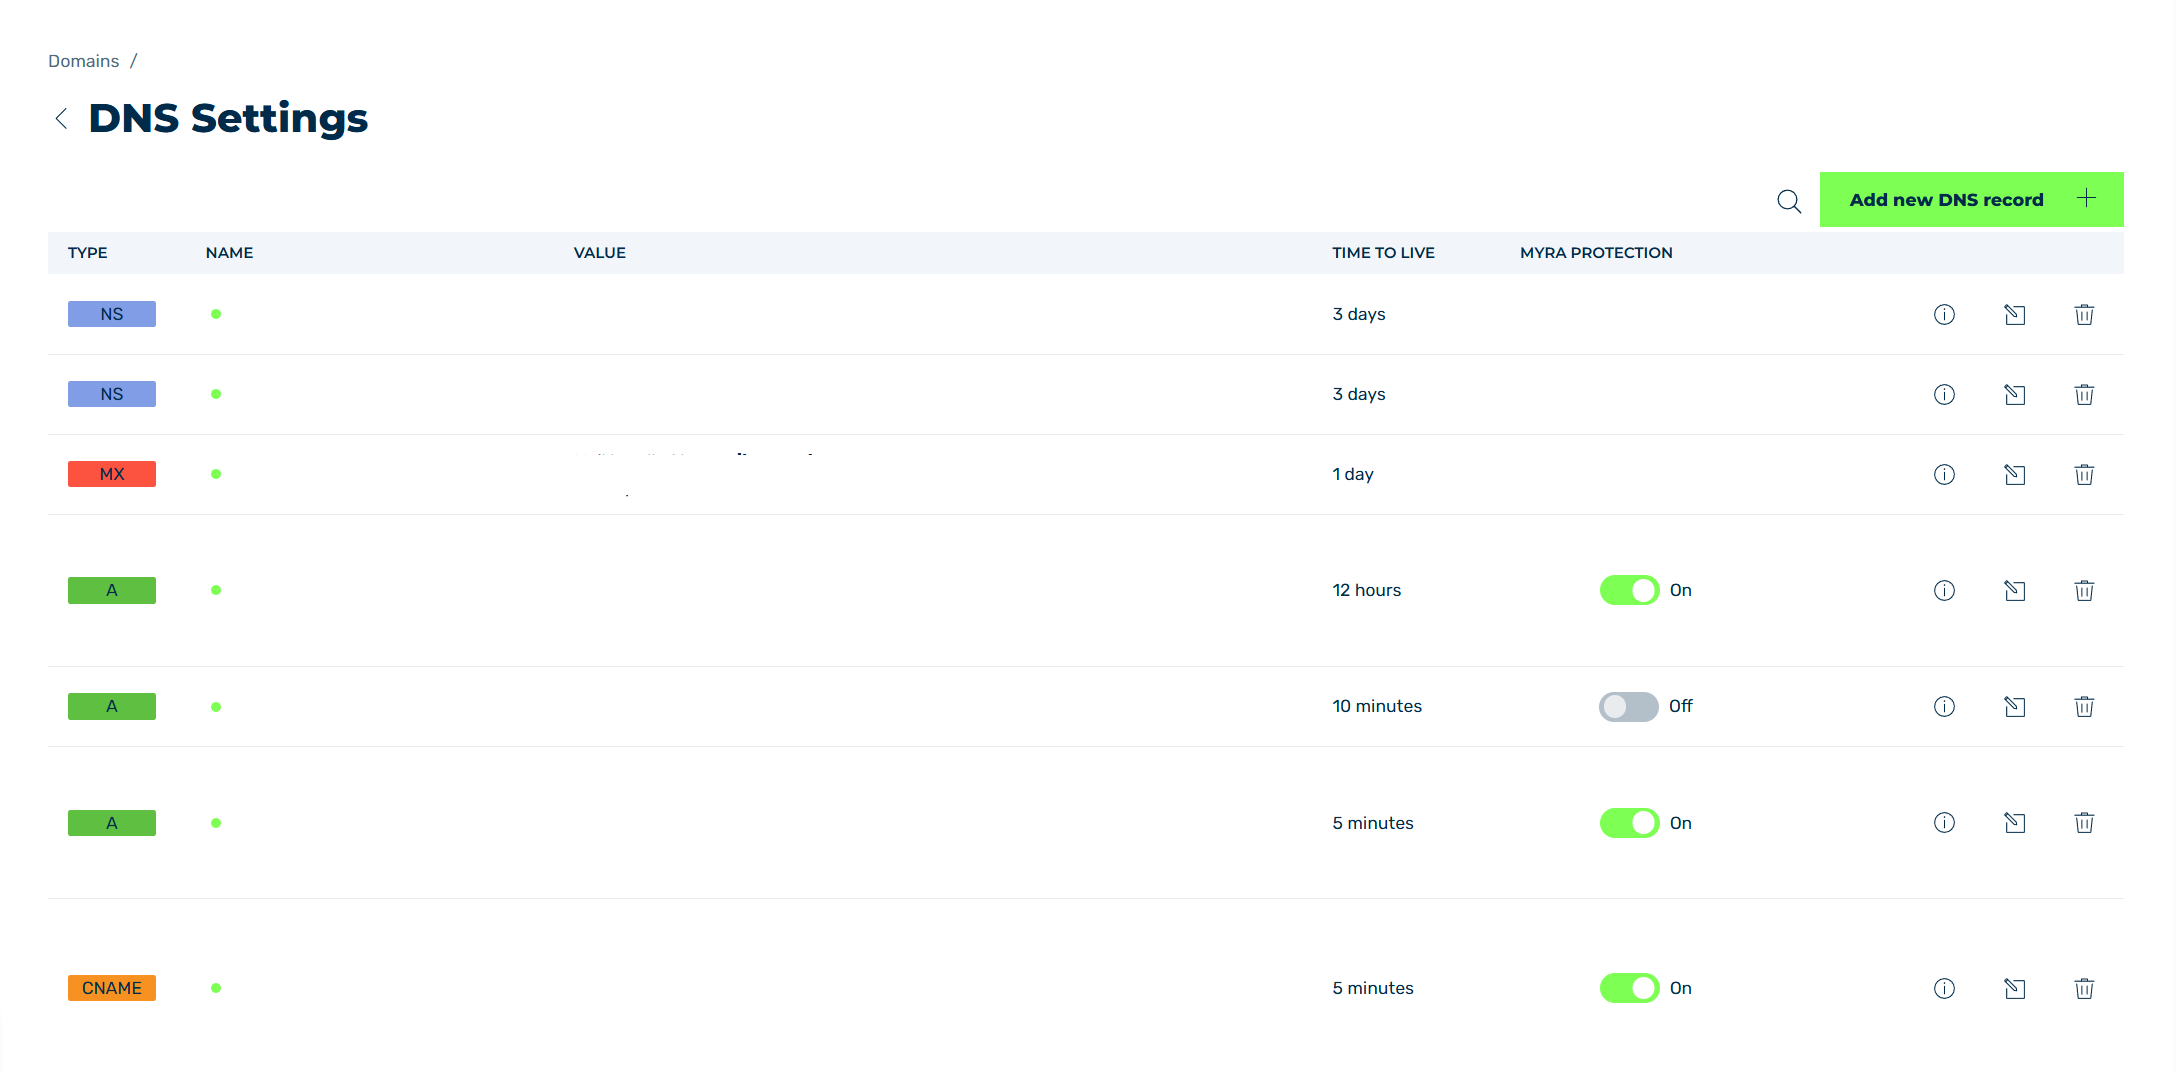
DNS Records view
- ► Select an A, AAAA or CNAME record that you want to set up as a CNAME record with your provider.
- ► Click on the
 icon.
icon. - ↳ The Information view opens.
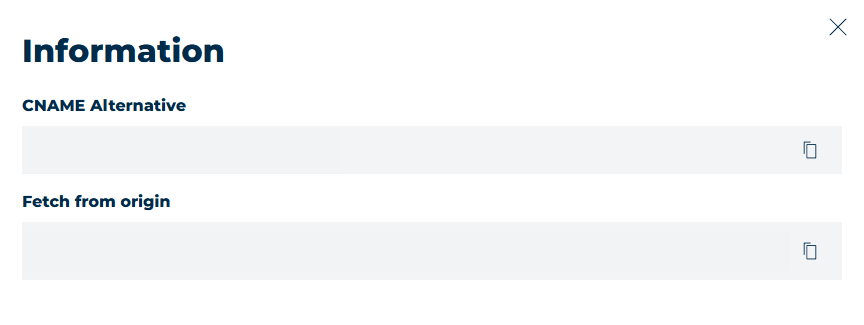
Dialog Information
- ► Click on the
 icon under CNAME Alternative to copy the alternative CNAME.
 - ► Add a new CNAME record in your domain registrar using the CNAME alternative you copied.
- ► To close the dialog, click on the X icon.
-
► Proceed as follows if you want to set up an apex domain as a CNAME record with your domain registrar:
- ▷ Copy the Myra IP address listed under Resolves to: in the VALUE column.
- ▷ Add a new CNAME record in your domain registrar using the Myra IP address you copied.
-
► Repeat this step for all necessary A, AAAA and CNAME records.
- ➔ All DNS records are stored with your domain registrar.
Note
Configuration changes are adopted automatically. This can take up to 7 minutes. For larger changes, Myra recommends disabling automatic updates to avoid invalid configurations.
To ensure that communication with Myra runs smoothly, please register the Myra IP addresses with your domain registrar:
- ► Open the Myra IP Ranges tab, see Section Myra IP Ranges tab.
- ► Add the Myra IP address to your domain registrar.
- ➔ Once all DNS records and Myra IP addresses have been set up with your domain registrar, traffic can be routed to Myra.