Set up load balancing
Note
If a DNS record that resolves to multiple origin IP addresses is added with the CNAME type, load balancing is automatically enabled for these IP addresses. All IP addresses are assigned the weight 1 , and requests are distributed using the round robin method.
This behaviour is not visible in the Myra App.
Note
To make the most of the advantages that load balancing offers, you must create at least two DNS records for the same subdomain with different target IP addresses.
The following requirements must be met:
- ☑ A domain has been added, see Section Add a domain.
- ☑ At least two DNS records have been added that point to the same IP address, see Section Add a DNS record.
Proceed as follows to set up the load balancing:
- ► Open the Load Balancing view, see Section Load Balancing.
-
► Select the entry you want to edit.
-
► Click on the
 icon.
icon. - ↳ The Edit Loadbalancing record dialog opens.
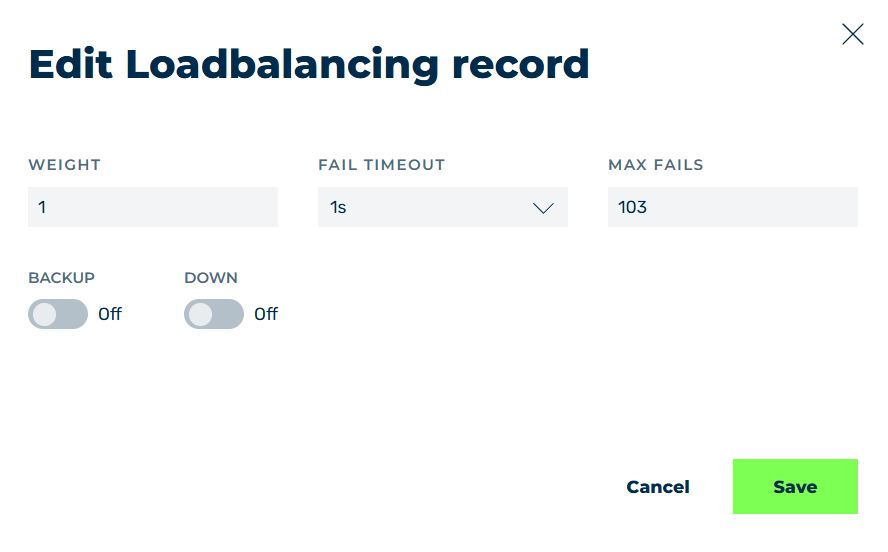
Set up load balancing
- ► If necessary, change the value in the text field under WEIGHT to adjust the number of requests an upstream server accepts before the next upstream server is selected.
-
► If necessary, change the value in the drop-down list under ERROR TIMEOUT. This determines the following time periods:
- The time period within which the MAX NUMBER OF ERRORS must occur before the upstream is disabled.
- How long the upstream remains disabled before it is reactivated.
If the MAX ERROR COUNT is reached, Myra temporarily switches to the next upstream server via load balancing.
-
► If necessary, change the value in the text field under MAX ERROR COUNT to adjust the maximum number of errors that must occur during the defined time period before the upstream is disabled for the remainder of that period.
Example
The value of 10 errors in 60 seconds means that, if 10 errors occur after 10 seconds, the upstream is disabled for the remaining 50 seconds.
-
► If necessary, select the checkbox under BACKUP to use the server as a backup server if the primary server is unavailable.
- ► If necessary, toggle the switch under DOWN to indicate whether the server is available.
- ► Click on the Changes button.
- ➔ The dialog closes and the changes have been saved.
To set up the load balancing settings for all entries, repeat these steps for each entry where load balancing is to be applied.
In addition to configuring the DNS records for load balancing, you must also specify the method by which traffic will be distributed across the servers when the subdomain is accessed.
Proceed as follows to set up the load distribution method:
- ► Click on the Domains tab in the left menu bar.
- ↳ The Domains view opens.
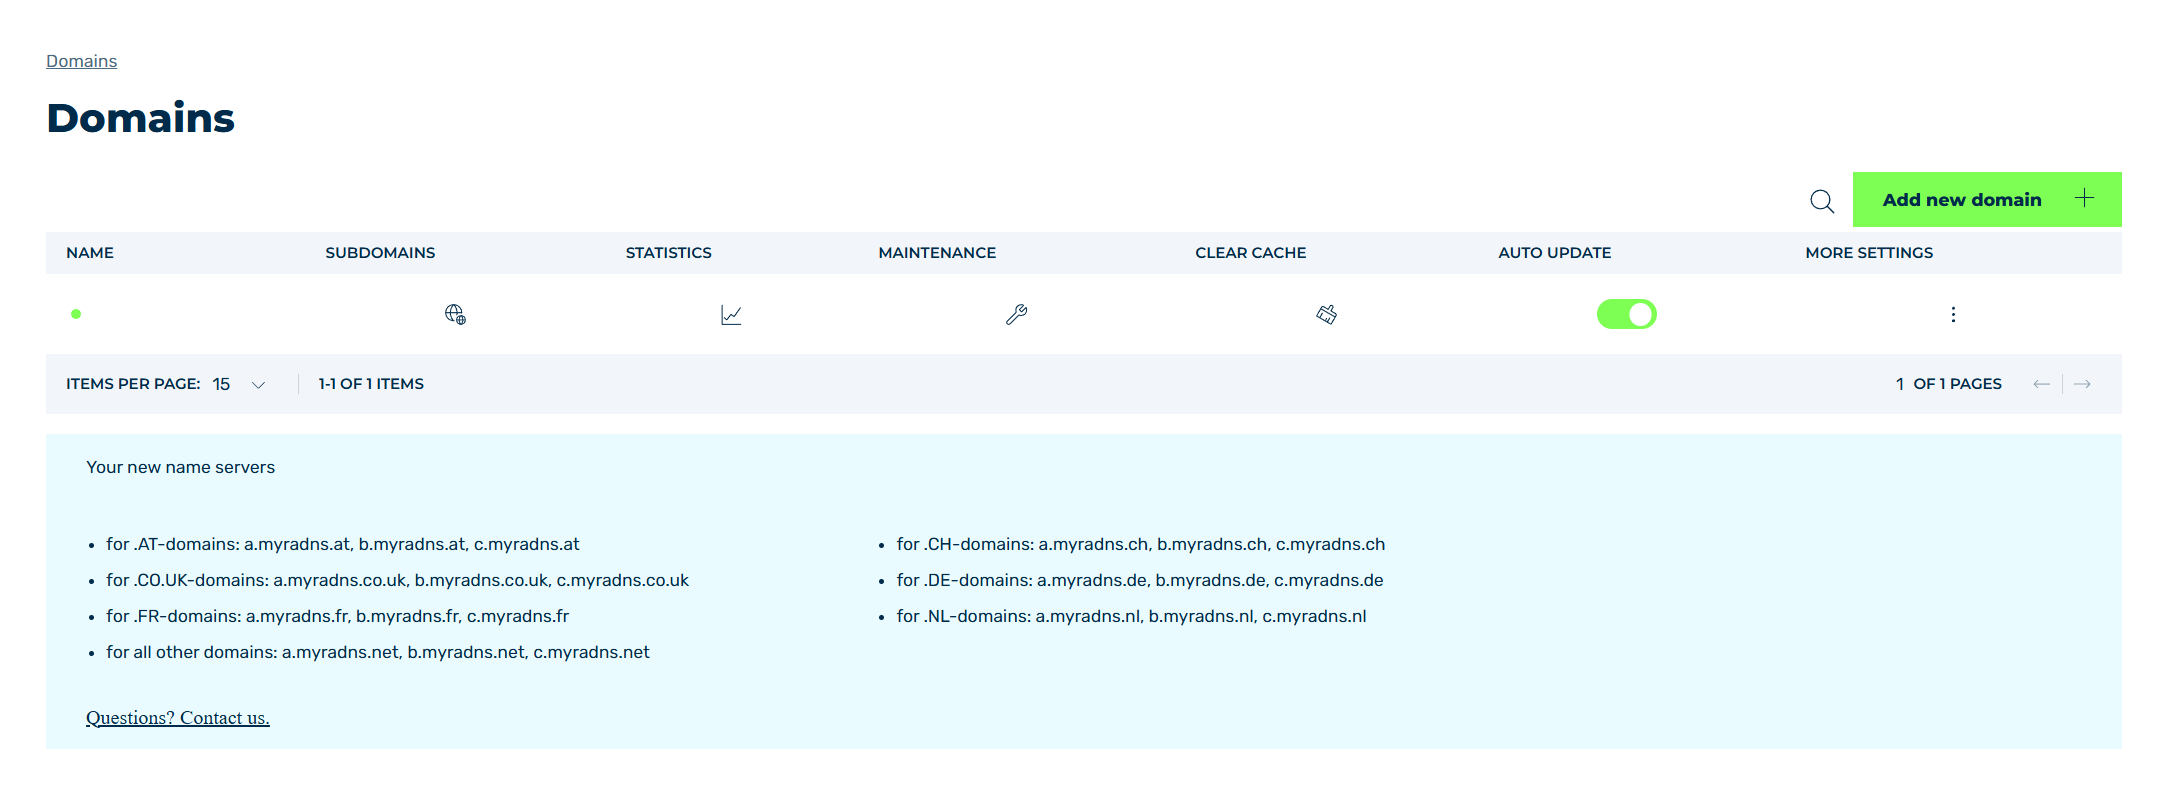
Domains view
- ► Select the relevant domain and click on the
 column.
 - ↳ The Subdomain settings for <domain name> view opens.
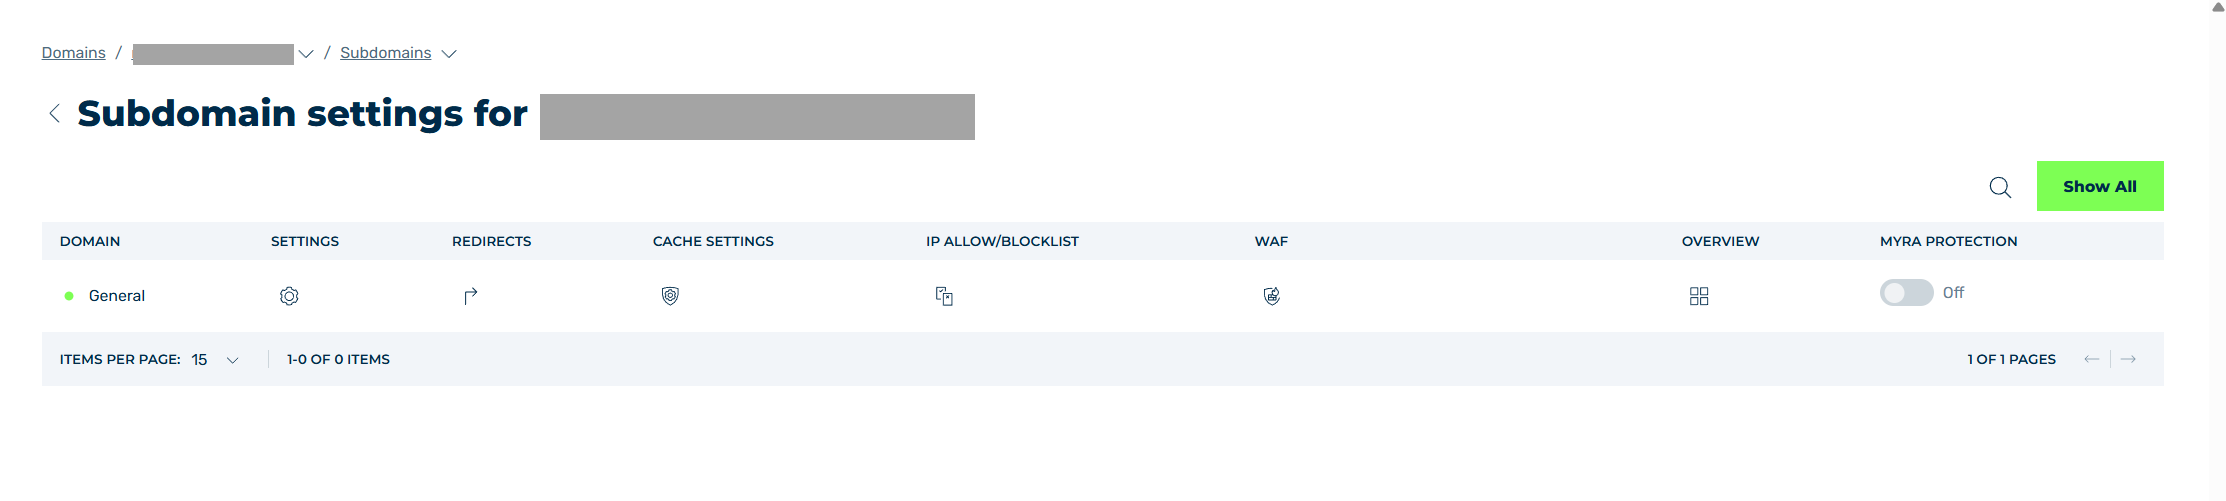
Subdomain settings view
- ► Select the relevant entry and click on the
 icon in the Settings column.
 - ↳ The Settings view with the Connection tab opens.
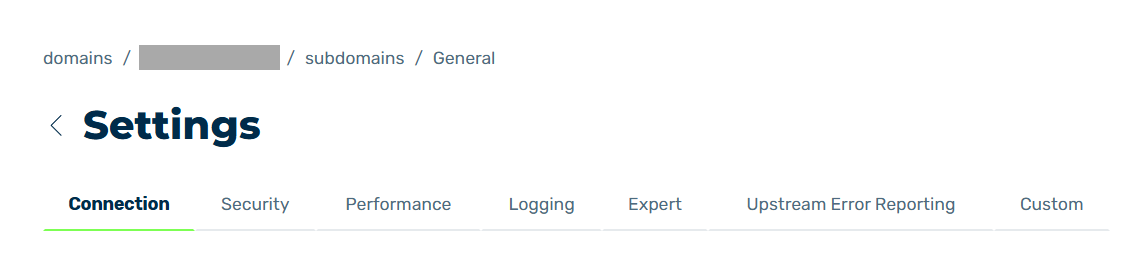
Settings view
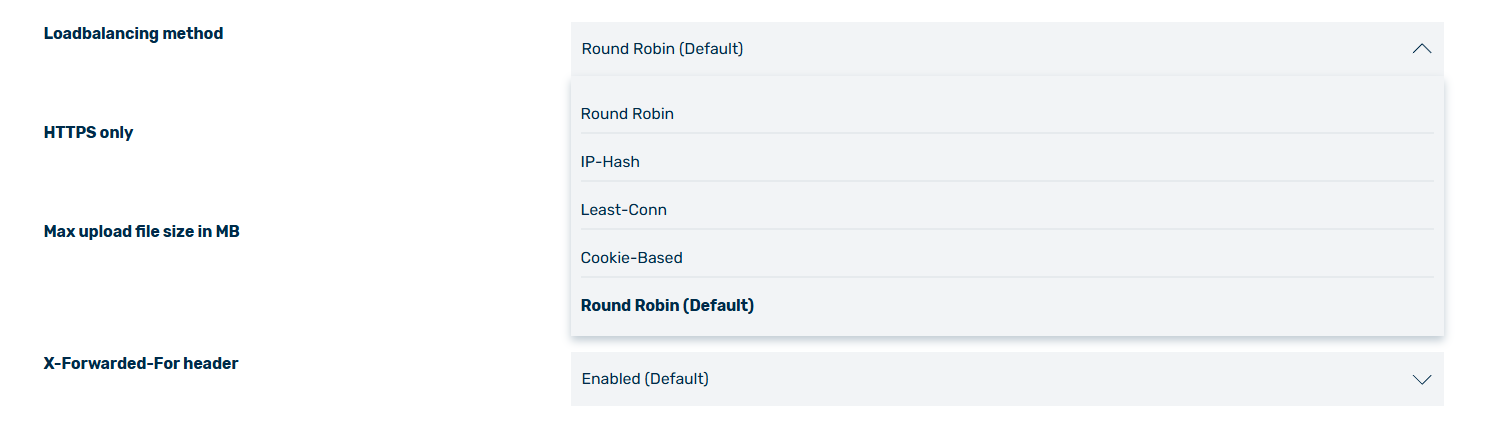
- ► Navigate to the Loadbalancing method setting.
Set up load balancing
-
► Use the drop-down list to change the value to one of the following options.
Name Definition Round Robin The requests are alternately distributed across all active upstreams, one after the other. IP-Hash The requests from the client IP address are always directed to the same upstream server. Least-Conn The requests are directed to the upstream server that currently has the fewest connections. Cookie-Based The requests are always directed to the same upstream server if the client already has a valid cookie from a previous request. -
► Click on the Save button.
- ➔ A message confirms that the changes have been saved successfully, and the setting is now active.