Import IP filter entries
Instead of adding individual IP filter entries, you can import multiple IP filter entries at once. In all three cases, importing an entry is done in the same way.
The following requirements must be met:
- ☑ A domain has been added, see Section Add a domain.
- ☑ A DNS record has been added for the required subdomains, see Section Add a DNS record.
Proceed as follows to import IP filter entries:
- ► Open the IP positive list/negative list for <subdomain name>, see Section IP Allow/Blocklist.
- ► Use the IP Allowlist, IP Blocklist, or Request Limiter for IP Allowlist tabs to select the type of IP filter you want to import.
- ► Click on the Import button.
- ↳ The Import dialog opens.
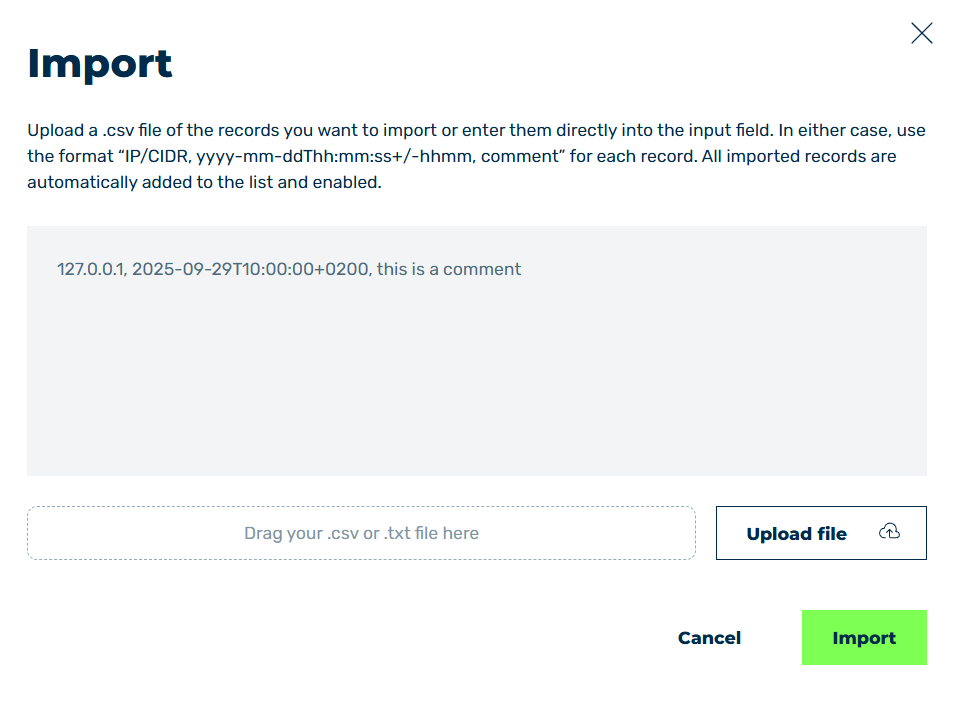
Import IP filter entries
You have the following options for exporting entries from the IP filter:
-
■ Import a CSV file
-
► Create a comma-separated CSV file and structure the content according to the following schema.
For the IP allowlist and IP blocklist
For request limiters for IP allowlist
-
► Click on the Upload File button.
- ► Select the CSV file.
-
↳ The CSV file will appear under the Upload File button.
In addition, the content is shown in the text field above the Upload File button.
-
► If necessary, correct the entries using the text field.
Note
If you import IP addresses that already exist, the existing entries will be overwritten.
-
► Click on the Import button.
-
➔ The dialog closes and the new entries appear in the list.
-
■ Insert content manually
-
► Enter the information in the text field according to the following format.
Note
If you import IP addresses that already exist, the existing entries will be overwritten.
For the IP allowlist and IP blocklist
For request limiters for IP allowlist
- ► Click on the Import button.
- ➔ The dialog closes and new entries appear in the list.